Editing Shapes
In a VectorStyler document, the shape of objects can be modified, edited, replaced, reused and styled, at any moment of the creation of an illustration. The shape of an object is an attribute of the object (just like color, or outline style).
Besides using the Node tool to modify a shape, it is possible to:
- Copy/paste shapes from one object to another.
- Pick and apply shapes using the shape picker tool.
- Save shapes as presets or styles and reuse them on multiple objects.
- Dynamically refer to the shape of another object.
The shape is an attribute of an object. As such it can be saved as a preset or a style, and can be applied on any object, including groups or layers, creating clipping shapes.
Copy/Paste Shapes
To copy and paste only the shape of an object:
- Select the object whose shape is to be copied.
- Select the Copy Shape command from the Edit - Attributes menu. This command copies only the shape of the selected objects to the clipboard.
- Select the objects whose shape are be replaced with the shape from the clipboard.
- Select the Paste Shape command from the Edit - Attributes menu.
When multiple objects are selected, the Copy Shape command will copy all the shapes to the clipboard. With multiple shapes in the clipboard, pasting shapes will apply these shapes to the selected objects in the order of selection. This allows the copying of multiple different shapes from one set of objects to another.
Pick and Apply Shapes
Shapes can be copied from one object to another interactively using the Shape Picker  tool (from the application toolbox, in the picker tool group). The interactive shape picker tool, enables the easy picking and assignment of shapes to multiple objects on the canvas.
To copy shapes with the shape picker tool, use the following steps:
- Shape Picker tool from the toolbox.
- Hold the Command (Mac) or Shift (Window) key and click on the object whose shape will be copied. The shape is picked from the object.
- To apply the picked shape, click on an object without holding any keys.
- Keep clicking on objects whose shape must be changed. Then use the Command (Mac) or Shift (Window) key to pick another shape.
Shape References
Shapes, like any other object attributes, can be set on an object as a reference to the shape of another object. This allows the dynamic linking of shapes between objects. When modifying the shape of the origin object, all shape references are updated automatically.
Shape references show up automatically as shape styles if an object has the Shape role. To create shape references, use the following steps:
- Select the object that has the original shape. This shape will be reused by other objects throughout the design.
- Select the Object Options command in the Object menu to open the options view of the selected object.
- Assign a name to the object, so that the shape can be identified as a shape style.
- Select the Shape role for the object by clicking the Role button in the object options view.
- The Role button opens a menu of possible roles that can be assigned to an object. An object role (see the Layers and Objects chapter) is used to create a symbolic style link to one or more object attributes (like shape, color, outline, effects, etc.).
- Once the object name and role is set, click on the Ok button to apply the changes to the selected object.
To use shape references on other objects:
- Open the Shape panel from the Window menu to use the existing shape styles.
- The Styles panel can also be used to apply shape styles, but that is not restricted to shapes only.
- Open the drop down of the Style field of the Shape panel.
- The shape style list should contain the name and preview of the shapes of objects with the shape role, from the current document.
- Select the object whose shape must be changed.
- Select the shape style from the style field of the Shape panel.
When shape references are used from other objects, modifying the shape on the original object will automatically update all instances of that shape style throughout the document. To do this, select the original object (the one with the name and the shape object role), use any of the tools or panels to modify the shape of the object. All shapes using a reference to this object are automatically updated as the original shape is changed.
The Shape Panel
The Shape panel (from the Window menu) can be used to edit the parameters of shapes, and to quickly select basic corner attributes of cusp corners of the selected shapes. The content of the shape panel depends on the type of the selected shape.
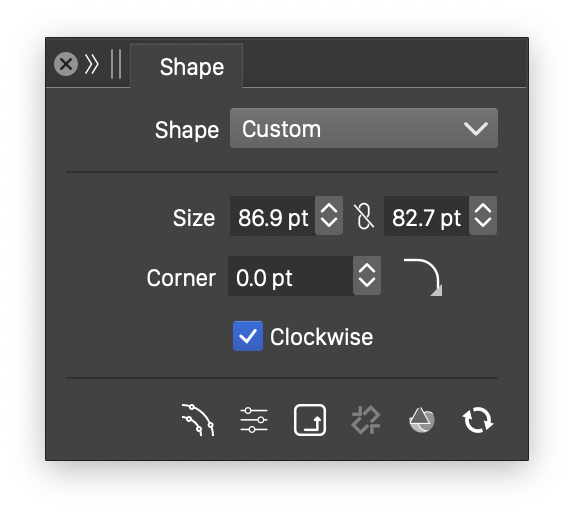
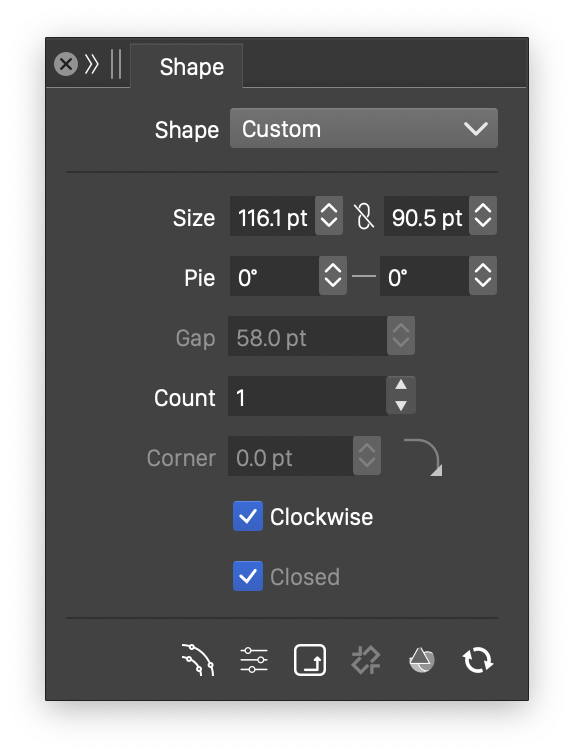
Rectangle shape.
Ellipse shape.
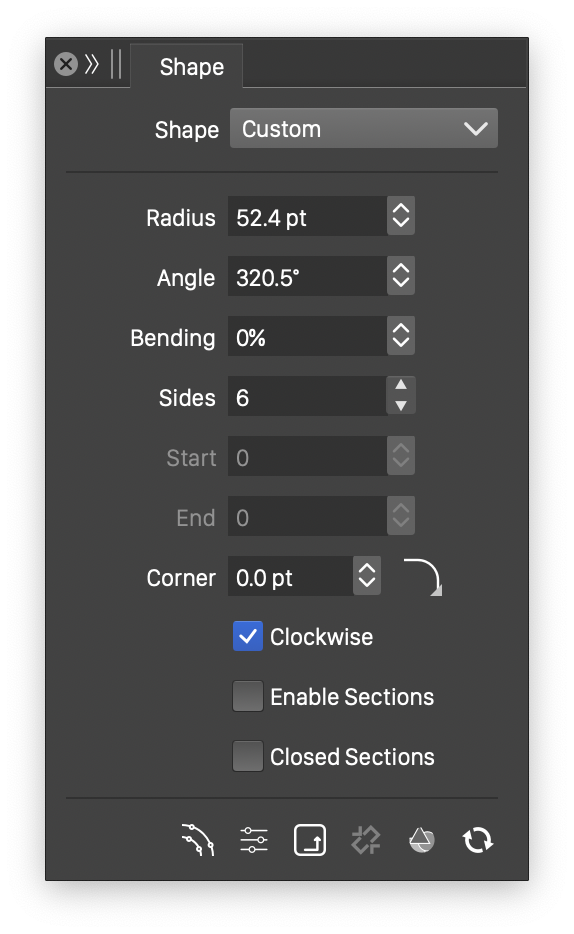
Polygon shape.
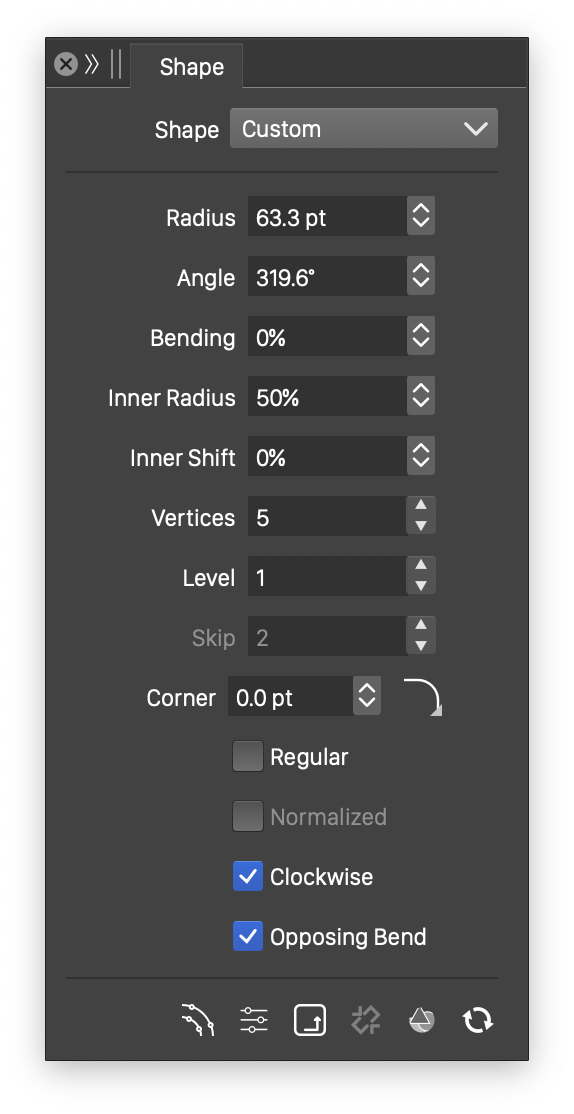
Star shape.
The Shape panel content in case of the various geometric primitives (rectangles, ellipses, starts) is documented in other sections of this chapter. The properties displayed when a geometric primitive is selected depend on the type of the geometric primitive.
Most geometric primitives and shape types allow corner attributes for cusp corners of the shape (for example: rectangles). The common corner size and type of all the cusp corners of a shape can be selected from the Corner field of the shape panel. The size of the corner is set in the number editor of the Corner field. The shape of the corner - in VectorStyler, corners can have arbitrary shapes - can be selected from the button next to the number editor of the corner field. The corner shape button opens a pop-up list containing various corner shape presets, styles and references available in the current document.
The Style field of the Shape panel can be used to create and reuse shape presets and styles. In VectorStyler, presets refer to attributes stored in the application, document or an external preset collection, that can be reused at any time without linking to the attribute.
Presets are an easy mechanism to share and reuse collections of styles and attributes (including shapes) with other designers. Styles refer to attributes saved in the document that are referenced (instead of being copied) when reused. When using styles, the style attribute can be edited and modified at any moment of the design process, and all instances (uses) of that style are automatically updated. Shape styles can be used to create multiple objects with the same shape. The shape of these objects can easily be modified by changing a single shape.
The Style field of the Shape panel opens a list of available shape presets and styles, and commands to create presets and styles from the selected shape.
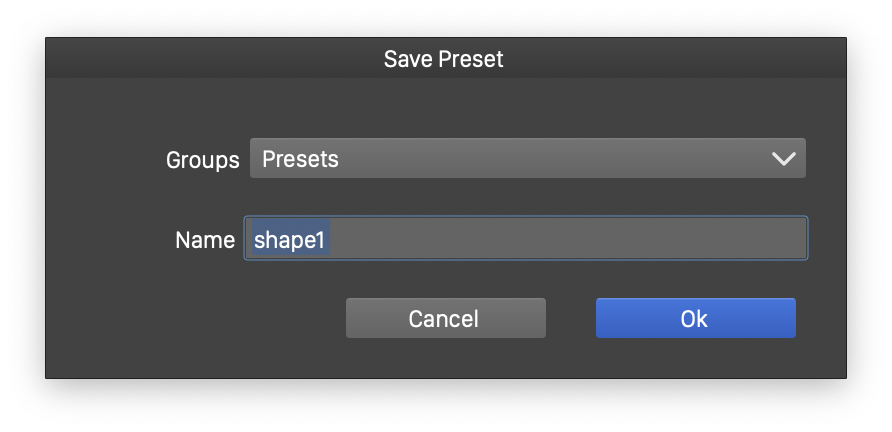
Creating a preset.
The Create Preset command from the Style menu opens a view used to select the preset group and name. The Groups field is used to select the preset group from the available groups. Preset groups are used to manage presets for sharing and reuse. By default, there is always an Presets and a Document preset group, used to store presets at application level or inside the document.
The Name field is used to input the new preset name. Once the group and the name is set, press the Ok button and a new shape preset is created.
To create a shape style, select the Create Style command from the Style menu. Set the style name in the Name field, and press Ok to create a new shape style. Shape styles are always stored in the document, as they are dynamically linked when used.
The Style field contains all the shape styles and presets defined in the document (or in preset folders). To change the shape of an object, select the object and select a shape from the Style field of the Shape panel.
The Shape panel contains a set of buttons used to access more attributes of the selected shape.
 - Convert the selected shapes to curves, enabling the editing of nodes and control points with the Node tool.
 - Open a detailed shape properties view. Some shapes may have properties that are not visible in the shape panel. These properties can be edited numerically using this button.
 - Open a detailed shape corner options view. The shape corner options view is used to select properties of the corner used at cusp nodes of the selected shapes. The details of the corner view are document on the Editing Corners section of this chapter.
 - Unlink reference or style shapes. When a reference or style shape is used, modifying the original object shape or shape style will automatically update all instances of that shape reference or style. If some instance should not be dynamically linked to the original style, use this button to detach the current shape from its origin.
 - Enables or disables the selection of shapes as clipping shapes of groups. When enabled, the shapes options applied from the panel on selected group(s) are set on the group as a clipping shape. When disabled, the shape options are selected on the objects inside the group.
 - Reset the selected shape to its default properties. Some properties of geometric primitives (for example: pie angle of ellipses) can be reset to the default value, to restore the default appearance of the shape. The size and position of the shape cannot be restored.
Clipping a Group of Objects
A clipping shape can be set on a group or layer, by copy pasting the shape, using the Copy Shape and Paste Shape commands.
To create a clipping shape for a group of objects use the following steps:
- Have the shape saved as a preset or style using the Shape panel (or create an object with the shape role).
- Select the group of objects to be clipped in a shape.
- Select the shape from the Style field of the shape panel.
The clipping shape of object groups is treated just like any other shape of an object in the document. The shape can be edited, styled and replaced, even if it is the shape of a group. The shape picker tool and the shape copy/pasting can also be used to select shapes to a group of objects.
If the clipping shape is not required anymore on a group of objects, use the Clear Object Shape command from the Object menu, to remove the shape from the object. The Clear Object Shape command is active only when a group of objects with a clipping shape is selected.
If a group object or a layer has a clipping shape, the group can be assigned a fill and outline style - like any regular object - that is used to render the clipping shape of the group (typically below the content of the group). Use the Appearance panel to arrange the stacking order of the group content, fill and outline rendering.
Converting Shapes Types
Parametric shape types, like rectangles or ellipses are controlled by shape specific options. VectorStyler provides a large number of parametric shapes, including shapes that approximate point sequences. The parameters of these shapes are editable using the Node tool or the Shape panel. To obtain editable curves these must be converted to curves first using the Object -> Convert to Curves command.
It is also possible to convert between parametric shapes, with the restriction that in most cases only the size and position of the shape is kept. To convert between parametric shapes, select the shape and use the options from the Object -> Convert Shape menu.
Point sequence based shapes, like Curvature or B-Spline shapes can be converted to other point sequence shapes, by keeping the points. This allows for a conversion of the point sequence interpolation mode.


