Tiling Patterns
Tiling patterns repeat artwork across a fill, stroke, or transparency mask. Set the tiling layout, spacing, and direction in the Pattern panel.
Pattern content can be a single object or a group. To use several objects, group them first. The group can have a clipping shape, but this is optional. You can also reference an object assigned the Tiling Pattern Content role.
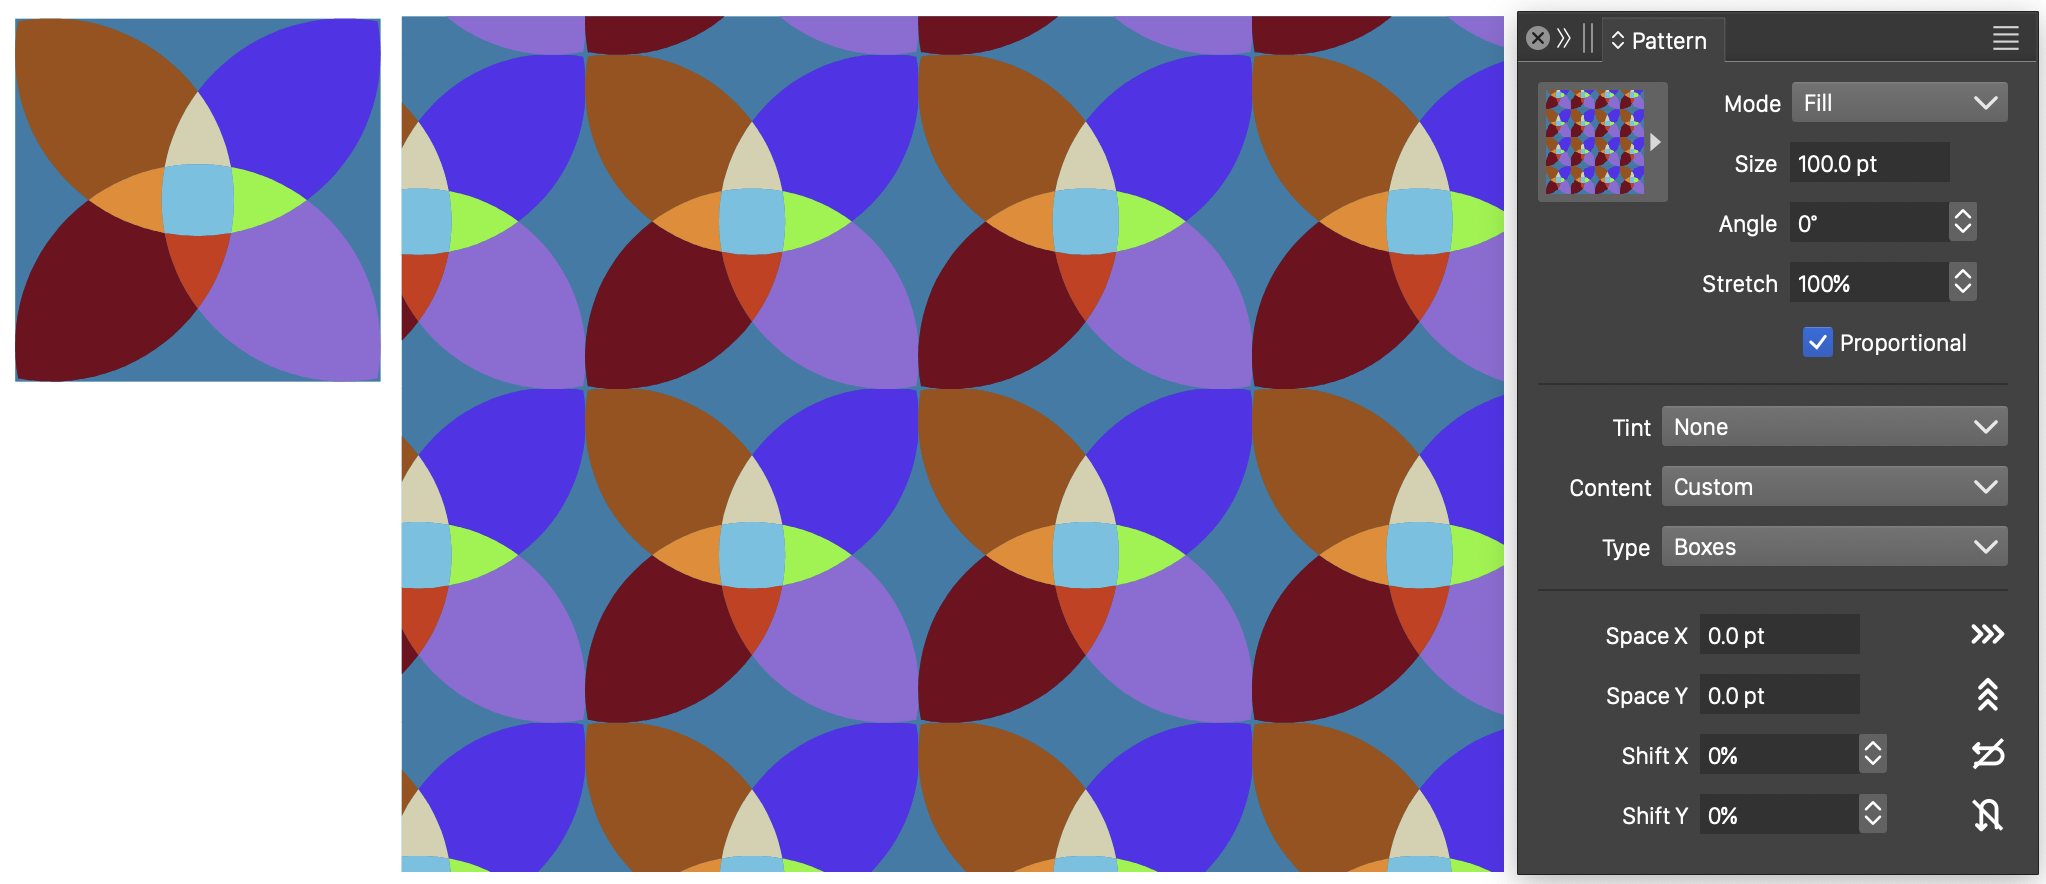
A group of objects (left), a pattern fill using that group (center), and the Pattern panel (right).
To reuse a pattern on several objects, save it as a style or preset. Use the Pattern Selector dialog to create and edit pattern styles and presets.
You can also assign the Pattern Style role to an object with a pattern fill. Other objects can then reference its pattern without a separate style or preset. Changes to the source object’s pattern update every object that uses it.
Use the Pattern Tool to adjust a pattern’s size, rotation, and stretching directly on the canvas.
Creating Patterns
To create a pattern style or preset, start with the object or group you want to repeat:
- Create and select the artwork. If it contains several objects, group them first.
- Choose Styles - Create Styles - Create Pattern Preset to create a preset, or Styles - Create Styles - Create Pattern Style to create a style.
- In the pattern options dialog, enter a name and adjust the settings. The preview uses your selected artwork. For details, see Pattern Selector.
- Click Ok to create the style or preset.
When creating a style with Create Pattern Style, enable Referenced Content to link the pattern to the selected artwork. Changes to that artwork then update all uses of the pattern style. When this option is off, the artwork is copied into the style and later changes to the original do not affect the pattern.
To apply a saved pattern, select the objects you want to change and open the Pattern panel from the Window menu. Click the pattern preview in the upper-left corner, then choose a style or preset from the list.
You can also make artwork available as pattern content by assigning the Tiling Pattern Content role:
- Create and select the artwork. Group multiple objects first.
- Choose Object - Object Options.
- Enter a name in Name. Click Role and enable Tiling Pattern Content.
- Click Ok.
- Select the objects you want to change. In the Pattern panel, choose the named artwork from Content.
Referenced pattern content stays linked to its source. Editing the source artwork updates every pattern that uses it.
Pattern Options
Edit pattern settings in the Pattern panel. For additional options, choose Edit Pattern from the panel menu to open the Pattern Selector. See Pattern Selector for a full description of the settings.
These options are particularly useful when setting up pattern fills, strokes, or transparency masks:
- Absolute Origin - Align the pattern to a fixed point on the canvas, usually (0, 0). Set this point in the Pattern Selector. Objects with the same pattern settings can then share a continuous pattern across overlapping areas. When this option is off, the pattern origin is relative to each object’s position. To keep patterns aligned across differently transformed objects, also turn off Transformed Pattern in the panel menu.
- Fit Content - Scale the artwork to fit a tile. When this is off, the artwork keeps its original size and is centered in each tile. Content outside the tile is clipped when Clip Tiles is enabled.
- Apply Shape Effects - Apply the object’s Shape Effects to its pattern tiles and content as well. When this is off, the pattern remains undistorted even if the object has shape effects.
- Type - Choose the tiling layout: how copies of the artwork are arranged to fill the area.
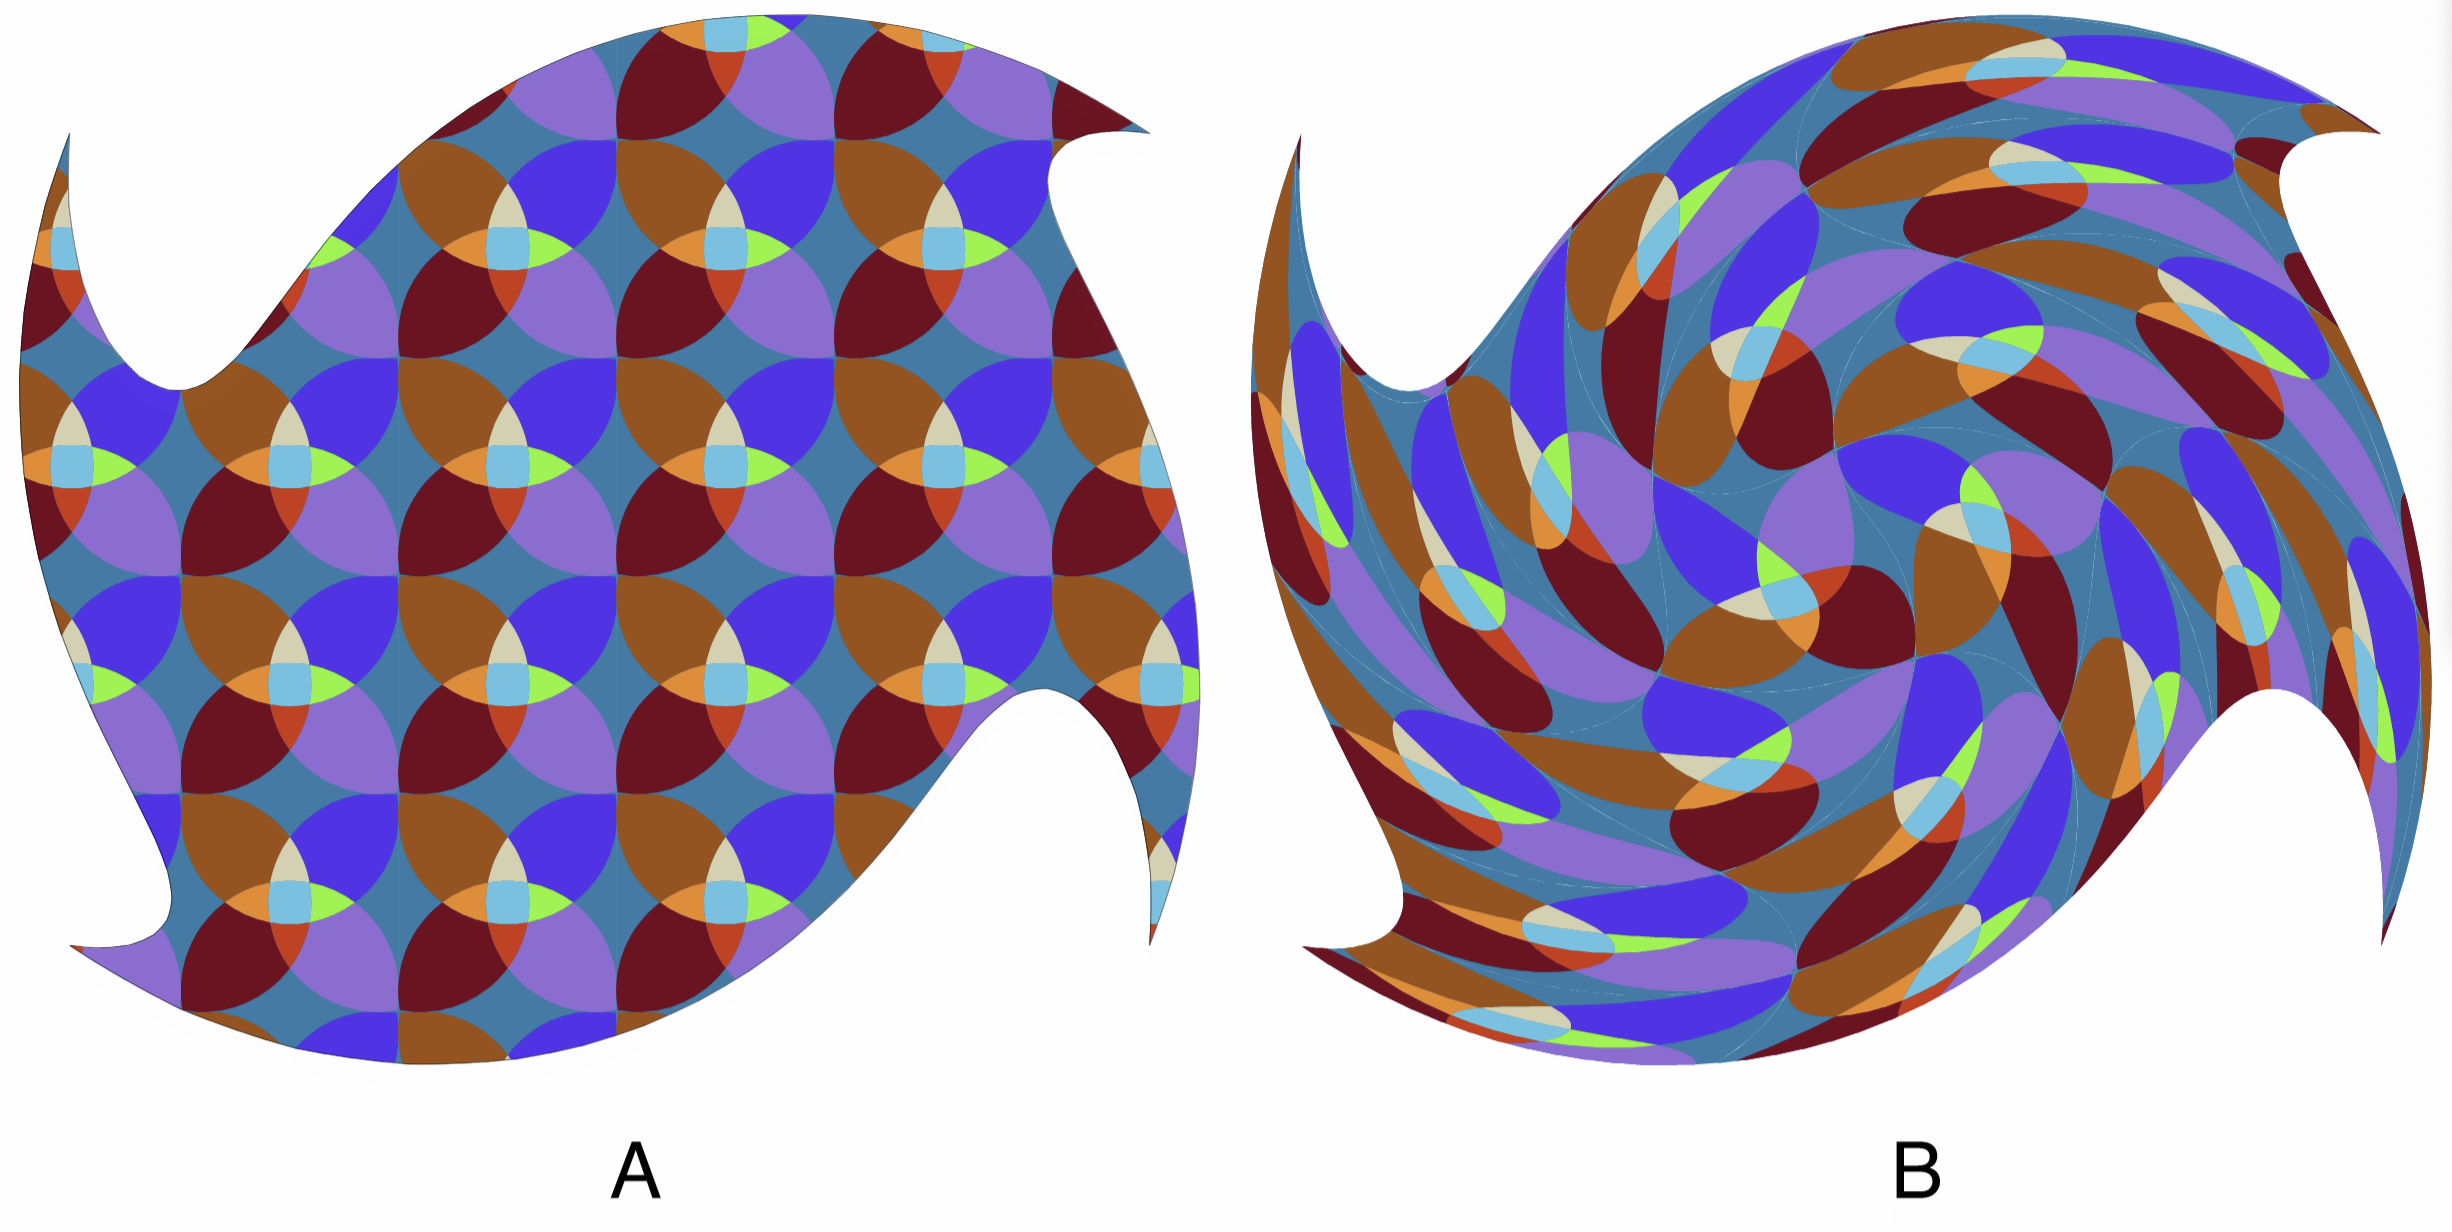
(A) A pattern-filled object with a Twirl effect. (B) The same object with Apply Shape Effects enabled.
Expanding Patterns
A pattern repeats its content automatically. To edit individual tiles as objects, expand the pattern.
Expanding creates a group clipped to the original object’s shape. Each tile becomes an object positioned according to the tiling layout. The expansion options control whether individual tiles are clipped. Select and edit them by isolating the group, ungrouping it, or using the Pointer tool’s direct selection mode.
The Pattern panel menu provides these commands. Expand Pattern Tiles is also available from the Styles menu.
- Expand Content - Copy referenced artwork into the pattern so it no longer updates when the source changes. Available only for referenced content. This detaches the content without creating separate tile objects.
- Expand Pattern Tiles - Create an object at each tile position, using the current expansion and clipping settings. These are soft copies: they share the content’s storage until edited, reducing the memory needed for repeated tiles.
- Expand Copied Tiles - Expand the pattern into separate copies of the content, each with its own stored data.
- Expand Referenced Tiles - Expand the pattern into references to the content object.
- Expand Cloned Tiles - Expand the pattern into clones of the content object.
- Extract Pattern Content - Extract one copy of the artwork without expanding the tiles. Use this to retrieve artwork from a pattern preset when it is not available elsewhere in the document.
Pattern Content Frame
The pattern content frame determines how artwork is positioned and scaled within a tile. By default, it uses the artwork’s bounding box. A clipping shape on the content group can also define the frame.
For more control, assign the Pattern Frame role to an object inside the content group. The pattern then uses that object’s bounding box as its frame. The frame object is often invisible.
To define a custom frame:
- Open the content group for editing. Edit the original group if the pattern uses a reference, or choose Isolate Content from the Pattern panel menu.
- Select the object whose bounding box should define the frame.
- Choose Pattern Frame from Object - Object Role. You can also choose it with the Role button in Object Options from the Object menu.
The pattern uses this frame to position and fit the content within each tile.
A custom frame lets you use only part of the artwork in a tile or include extra space around it.


