Transforming Objects
One of the most common actions when creating an illustration is selecting and transforming objects. VectorStyler provides a number of tools that can be used to transform objects. Transform operations include moving, scaling, rotating and skewing objects, shapes or object content.
When the pointer tool is active, the context panel contains a set of buttons, used to select the target mode of the pointer tool.
 The Pointer mode is used to select and transform objects, including groups. To transform objects inside a group, double click on the group to enter isolated mode and select the object.
 The Shape Selector mode is used to select and transform shapes inside a composite shape. Composite shapes are shapes built from multiple shapes using a combining operation.
 The Direct Selector mode is used to select and transform objects inside groups. A group can only be selected, if it has a shape and a fill or outline style and an uncovered area.
 The Content mode is used to select and transform linked graphics or image content inside objects, independently of the object.
Selection and Transform Options
The context panel contains a number of options that can be used to control how objects are selected and how they are transformed with the transform tool. These options are available when the transform tool is active.
 - Show or hide selection while dragging, scaling or rotating objects.
 - Enable or disable the transform pivot point editing.
 - Transform each selected object separately.
 - Show a separate rotation knob, or use the corners for rotating
 - Enable or disable the selection box rotation feature.
 - Check to keep the selection box rotation if the selection changes.
 - Check to snap the object and transform box rotation angle to the object shape.
 - Cycle the transform box rotation mode.
 - Use magic wand with the current selection mode.
Interactive Transform
(A) transform marker around an object, (B) scaled down object, (C) rotated object.
When one or more objects are selected using one of the tools described above, a bounding box marker is shown around the objects. This marker can be used to scale, rotate and skew the selected objects. The transform marker indicates the current rotation and skewing of the selected objects.
When hovering over the nodes and around the margin of the transform marker, the cursor will indicate the type of transformation initiated from that location.
To move the selected objects:
- Hover over a filled region or the outline of the object, then press and drag the mouse.
- While moving hold the Shift key to constrain the movement to horizontal or vertical directions.
- Hold the Option (Mac) or Alt (Windows) key to move a copy of the object.
- The active snapping options will help in precisely positioning the object (see the Grids & Guides chapter for more detail on snapping),
- Hold the Command (Mac only) key to temporarily disable all snapping options while moving the object.
To scale the selected objects:
- Hover over one of the eight nodes located at the corners and at the center of the sides of the transform marker. Press and drag the mouse.
- The objects are resized in the selected direction.
- For proportional scaling (from the corners), hold the Shift key.
- To scale a copy of the selected objects, hold the Option (Mac) or Alt (Windows) key.
- To keep the center fixed while scaling, hold the Control key.
- In case of multiple selected objects, hold the Space key to block scaling and allow object movements only.
- When holding the Space key (after the scaling started), hold the Option(Alt) key to distribute the objects inside the first level groups also.
Rotating and skewing objects is done centered to a user selected center point. The center point is associated with the object and it will be stored with the document. The center point is indicated as a small circular node, initially at the center of the object. To move the center point of the selected objects:
- Hover over the center node indicator. The cursor should change to indicate center node selection. Press and drag the mouse.
- Move the center node to a new location.
- Active snapping options will help in precisely positioning the center point. The center point will also snap to the transform marker center.
- Hold the Shift key to constrain the movement to horizontal or vertical directions.
- Hold the Command (Mac only) (Mac only) key to temporarily disable all snapping options while moving the center point.
- Hold Control while rotating, to use the opposite corner of the bounding box as the rotation pivot point.
To rotate the selected objects:
- Hover over the margin around a corner of the transform marker. The cursor should indicate rotation. Press and drag the mouse.
- The selected objects are rotated around the center point.
- The rotation angle will snap to the angle of the guidelines on the current canvas and artboard.
- Hold the Command (Mac only) key to temporarily disable angle snapping.
- Hold the Shift key to snap the angle to increments of a user specified value (45 degree by default, set in application settings).
- Hold the Option (Mac) or Alt (Windows) key to rotate the copy of the selected objects.
To skew the selected objects:
- Hover over the margin around the center of the transform marker sides. The cursors should indicate skewing. Press and drag the mouse.
- The selected objects are skewed around the center point.
- The skewing angle will snap to the angle of the guidelines on the current canvas and artboard.
- Hold the Command (Mac only) key to temporarily disable angle snapping.
- Hold the Shift key to snap the angle to increments of a user specified value (45 degree by default, set in application settings).
- Hold the Option (Mac) or Alt (Windows) key to skew the copy of the selected objects.
Duplicating
The selected objects can be duplicated to create exact copies. In VectorStyler, there are three different duplication modes, determining the type of the newly created objects.
- Objects can be copied, resulting in a new object that is independent of the original.
- Objects can be cloned, where the attributes of the new object are linked to the original object. Modifying the original object will modify the attributes of the clones of that object as well. Modifying attributes of a clone will break the link to the original for that attributes. For more on object cloning see the Cloning Objects section.
- Objects can be referenced, creating a symbolic reference to the original object. In this case no copy or clone is created, instead the original object will behave as a symbol, and the new object will be an instance of that symbol. Changes on the original (symbol) object are always mirrored on all references to that object. Symbol instances cannot be styled, but it is possible to override style definitions, or apply additional image and shape effects.
The following object duplication commands are available:
- Holding the Option (Mac) or Alt (Windows) key while moving, scaling, skewing or rotating objects will create a copy of the selected objects.
- Duplicate - Create a copy of the selected objects and move it by the same amount as the previous object movement.
- Clone - Create a clone of the selected objects.
- Reference - Create a symbolic references to the selected objects.
- The various numeric transform commands have an option to select the duplication mode before applying the transformation.
- Copy and paste into the same document will duplicate the objects, avoiding going through the clipboard.
- Drag and drop from the layers panel can be used to duplicate, clone or reference objects.
Transform by Numbers
The Objects - Transform menu contains various commands that can be used to transform objects by specific numeric amounts. Transforming by specific amounts is useful when the changes must be precise, or when repeating the changes multiple times on copies of the objects.
In these transforming commands, the objects can be copied repeatedly and transformations applied on the copies of these objects.
Moving Objects
Moving objects by specific amounts.
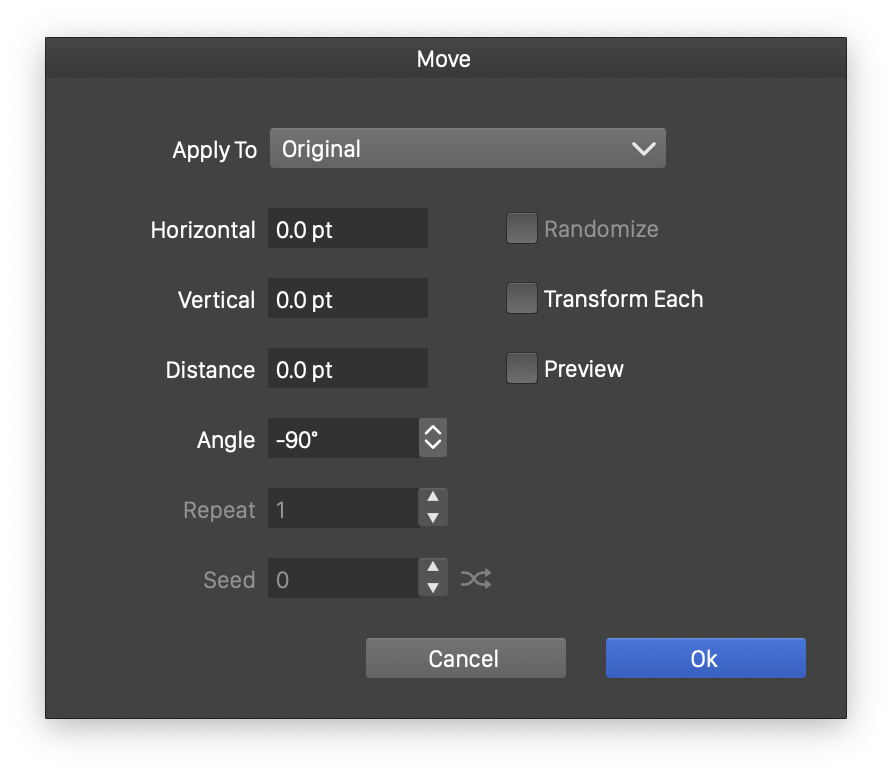
To move the selected objects using numeric amounts, select the Move command from the Object - Transform menu. The Move view is shown, where the movement amounts can be set. The following fields control how the selected objects are moved:
- Apply To - Select the copying mode of the moved objects. This can be Original, when no copies are made, or Copy, Clone or Reference, when the object is copied using the selected mode and the copies are moved.
- Horizontal and Vertical - Edit the amount of horizontal and vertical movements.
- Distance and Angle - Edit the amount of movement along an angle to a specific distance.
- Repeat - Set the number of copies made from the selected objects.
- Randomize - Enable or disable randomization of the movement amounts.
- Seed - Edit the randomization seed used when making random movements.
- Transform Each - Enable the transformation of individual objects, when multiple objects are selected.
- Restrict Movement - Check to restrict the movement to the selected steps.
- Step - Enabled with the Restrict Movement checkbox, sets the values for the movement increments.
- Preview - Enable the previewing of the current movement options on the selected objects.
Scaling Objects
Scaling objects by specific amounts.
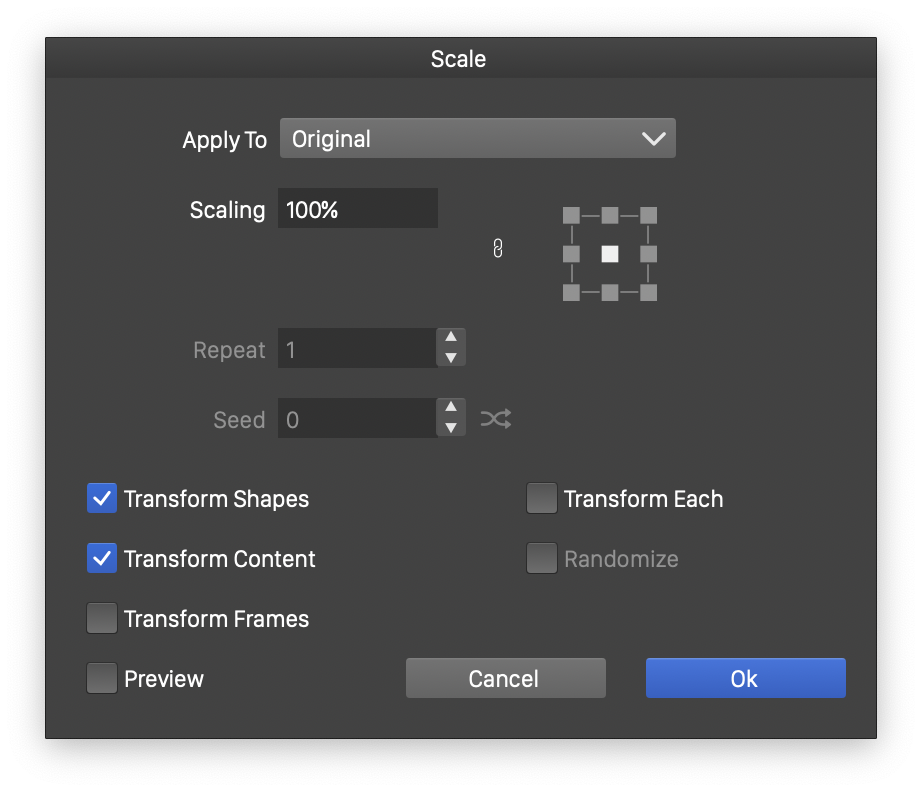
To resize the selected objects using numeric amounts, select the Scale command from the Object - Transform menu. The Scale view is shown, where the scaling options can be set. The following fields control how the selected objects are scaled:
- Apply To - Select the copying mode of the scaled objects. This can be Original, when no copies are made, or Copy, Clone or Reference, when the object is copied using the selected mode and the copies are scaled.
- Scaling - Edit the relative scaling amount applied on the selected objects. For non-proportional scaling of the objects, click the lock icon and edit the Horizontal and Vertical scaling factors separately.
- Repeat - Set the number of copies made from the selected objects when scaling.
- Transform Shapes - Enable or disable the scaling of object shapes.
- Transform Content - Enable or disable the scaling of image or linked content.
- Transform Frames - Enable or disable the scaling of text frame content.
- Transform Each - Enable or disable the separate transformation of individual objects when multiple objects are selected.
- Restrict Scaling - Check to restrict the scaling to the selected steps.
- Step - Enabled with the Restrict Scaling checkbox, sets the values for the scaling increments.
- Randomize - Enable randomization of the scaling amounts.
- Seed - Edit the randomization seed used when making random scaling.
- Preview - Enable the previewing of the current scaling options on the selected objects.
Skewing Objects
Skewing objects by specific amounts.
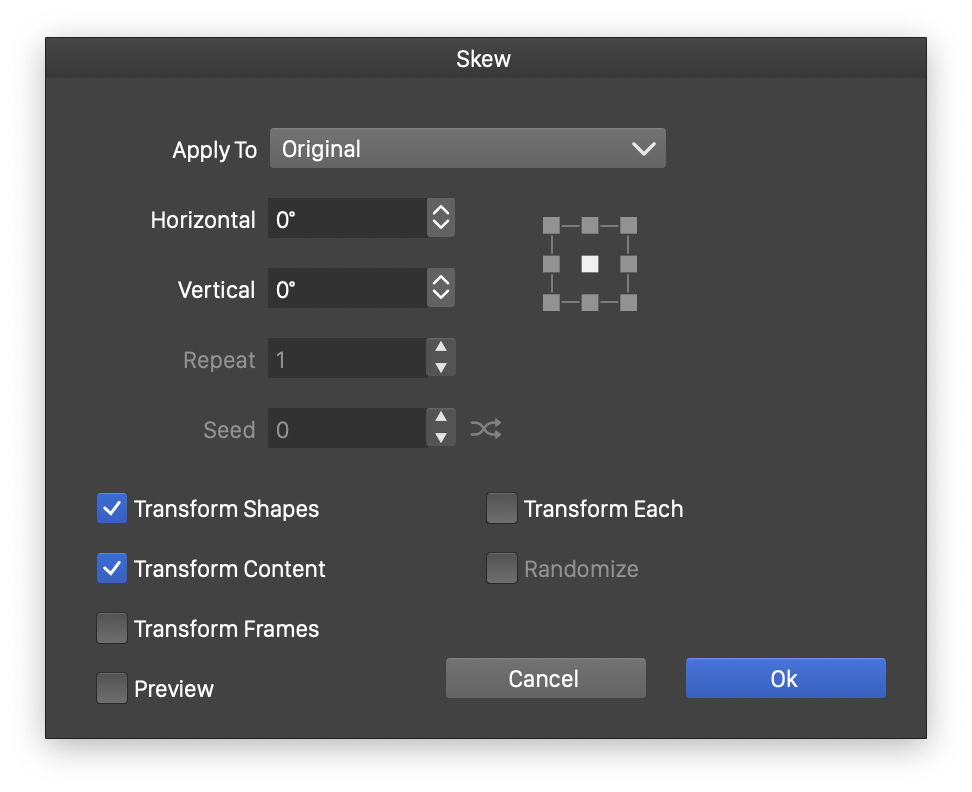
To skew the selected objects using numeric amounts, select the Skew command from the Object - Transform menu. The Skew view is shown, where the skewing options can be set. The following fields control how the selected objects are skewed:
- Apply To - Select the copying mode of the skewed objects. This can be Original, when no copies are made, or Copy, Clone or Reference, when the object is copied using the selected mode and the copies are skewed.
- Horizontal and Vertical - Edit the skewing angles used in horizontal and vertical direction.
- Repeat - Set the number of copies made from the selected objects when skewing.
- Transform Shapes - Enable or disable the skewing of object shapes.
- Transform Content - Enable or disable the skewing of image or linked content.
- Transform Frames - Enable or disable the skewing of text frame content.
- Transform Each - Enable or disable the separate transformation of individual objects when multiple objects are selected.
- Restrict Skewing - Check to restrict the skewing to the selected steps.
- Step - Enabled with the Restrict Skewing checkbox, sets the values for the skewing increments.
- Randomize - Enable or disable randomization of the skewing amounts.
- Seed field edits the randomization seed used when making random skewing.
- Preview - Enable or disable the previewing of the current skewing options on the selected objects.
Rotating Objects
Rotating objects by specific amounts.
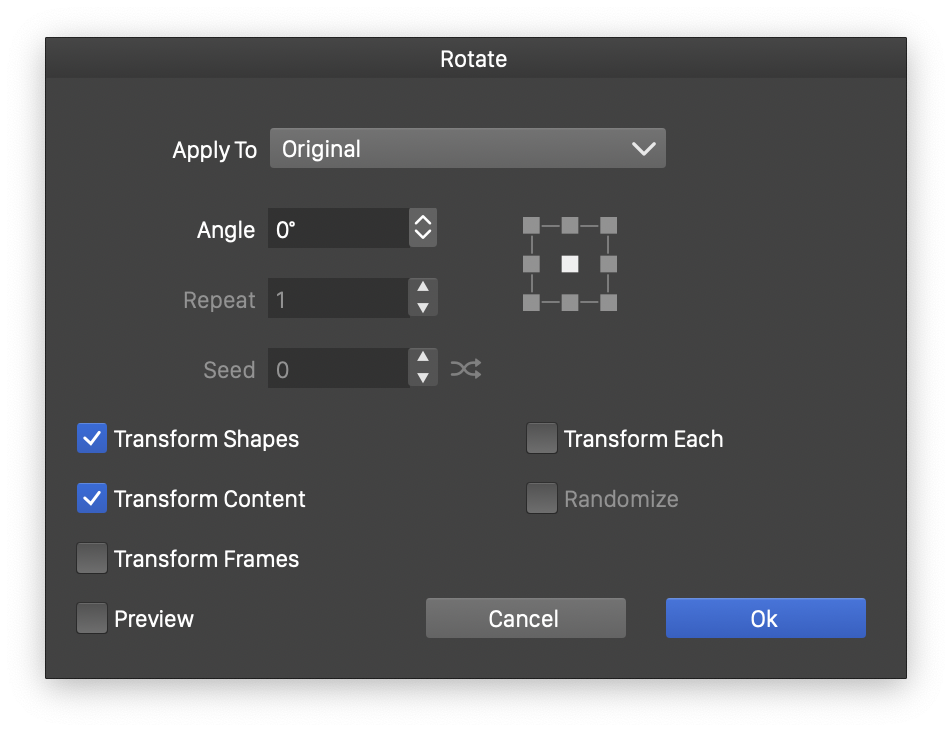
To rotate the selected objects using a specific angle, select the Rotate command from the Object - Transform menu. The Rotate view is shown, where the rotation options can be set. The following fields control how the selected objects are rotated:
- Apply To field is used to select the copying mode of the rotated objects. This can be Original, when no copies are made, or Copy, Clone or Reference, when the object is copied using the selected mode and the copies are rotated.
- Angle field edits the rotation angle of the objects.
- Repeat field sets the number of copies made from the selected objects when rotating.
- Transform Shapes - Enable or disable the rotation of object shapes.
- Transform Content - Enable or disable the rotation of image or linked content.
- Transform Frames - Enable or disable the rotation of text frame content.
- Transform Each - Enable or disable the separate transformation of individual objects when multiple objects are selected.
- Restrict Rotation - Check to restrict the rotation to the selected steps.
- Angle Step - Enabled with the Restrict Rotation checkbox, sets the value for the rotation increments.
- Randomize - Enable or disable randomization of the rotation amounts.
- Seed - Edit the randomization seed used when making random rotating.
- Preview - Enable or disable the previewing of the current rotation options on the selected objects.
Reflecting Objects
Reflecting objects along an axis.
To reflect the selected objects along an axis, select the Reflect command from the Object - Transform menu. The Reflect view is shown, where the reflection axis angle and other options can be set. The following fields control how the selected objects are reflected:
- Horizontal - Reflect the objects along an axis horizontally.
- Vertical - Reflect the objects along an axis vertically.
- Angle - Use a specific angle as the axis of the reflection.
- The other options of the Reflect view are similar to the rotate and skew view options.
Transforming Objects
The Transform command of the Object - Transform menu is used to apply all transformation options (moving, scaling, skewing and rotating) in a single step. This is especially useful, when creating multiple copies of the selected objects and applying combined transformations repeatedly. The Transform command combines all previous transformations into a single view.
Transforming objects using all options.
- Apply To - Set the duplication mode of the objects, similarly as in other views.
- Move - Contains the movement amounts.
- Scale - Contains the scaling amounts.
- Skew - Contains the horizontal and vertical skewing amounts.
- Rotate - Contains the rotation angle.
- Rotated Movement - Check to also rotate the movement direction using the rotation angle.
- Absolute Scaling - Check to scale objects in absolute or relative percentages.
- Transform Each - Check to transform each object separately.
- Randomize - Check to use randomized transformations. This option is available only when multiple repeated copies are transformed.
- Restriction - Opens a separate view to set the transformation amount restrictions. This can be used for example, to rotate objects in 10 degree increments only.
- Additional options shown in the Transform view have the same use as documented in the rotating and skewing commands.
The transformation restrictions are set in a separate view. The following options are available:
Restricting transformation amounts.
- Restrict Movement - Check to restrict the object movement to increments of the selected values.
- Move X/Y - Set the movement restriction values.
- Restrict Scaling - Check to restrict the object scaling to increments of the selected values.
- Scale X/Y - Set the scaling restriction values.
- Restrict Skewing - Check to restrict the object skewing to increments of the selected values.
- Skew X/Y - Set the skewing restriction values.
- Restrict Rotation - Check to restrict the object rotation to increments of a selected value.
- Angle Step - Set the rotation angle increment value.
Reseting the Object Box
When applying skewing and rotations to an object, the bounding box of the object (showing the transform handles) will be shown according to the current skewing and rotation amounts. This results in a transformed bounding box, and the ability to resize the object before the rotation and skewing amounts are applied.
In some cases (after several transformations), it is preferred to apply a new transform (scaling, skewing or rotating) to the object without considering existing transformations. This can be done using the Reset Transform command of the Object - Transform menu. The Reset Transform command will reset the bounding box into a non-transformed frame, so that new transformations can be added to the object.
The Transform Panel
The Transform panel.
To quickly access transformation options with numeric values, use the Transform panel from the Window menu. The transform panel will show the current position and size of the selected objects, as well as current scaling, skewing and rotation amounts. To transform the selected objects, type a new value in any of these fields and press Enter.
The transform panel provides the following options (separated into sections):
- The top section contains the selection frame position and size. The position is shown relative to the selected reference point (upper-left widget). To set the frame position or size, edit these fields. Changes to the size can be restricted to proportional by the lock button next to the width and height fields.
- The buttons next to the width and height fields are used to enable the selection of a fixed size mode for an object or group. The fixed size mode is used to add a resizing shape effect to the object, that sets the object size to the specified value regardless of the original size. Normally (when the icon is round in the buttons), the size is set by scaling the object. Using the fixed size mode enables the use of number variables to set the object size.
- The second section (top down) shows the current scaling and skewing amounts applied to the object. The object scaling values are stored with the object and can be adjusted later. To start with new scaling values, use the Reset Transform command.
- The third section shows the rotation angle of the selected objects. The rotation is stored with the object and can be adjusted at any time. To start with new rotation angle, use the Reset Transform command.
- Transform Each check box enables the separate transformation of multiple selected objects.
- Clicking the double arrow knob in the panel title will change the content of the Transform panel to show more or less options.
- The transform pivot center can be edited as numbers by one of these pane states, when the CX and CY fields are shown.
- The proportional mode of transformation set with the lock button can also be selected to the interactive on-canvas transformation tool, by selecting the Global Proportional Mode from the panel menu.
The Transform panel menu.
The transform panel menu contains additional options used in the transformation of the selected objects.
- Flip Horizontal - Flip the selected objects horizontally.
- Flip Vertical - Flip the selected objects vertically.
- Flip Size - Flip the width and height amounts of the selected objects by scaling them.
- Copy Size - Copies the size of the selected objects.
- Paste Size - Sets the size of the selected objects by pasting a previously copied size.
- Reset Center - Reset the center of a path shape.
- Reset Transform - Reset the transformation box of the selected objects.
- Remove Fixed Size - Remove the fixed object size shape adjustment. This shape adjustment is added when a number variable is used to set the object size, or the circle icons are clicked next to the width or height fields to set the object size to a fixed size.
- Align to Pixel - Check to align the shape of the objects to pixels. This is a dynamic shape adjustment, and can be removed by unchecking this menu item.
- Transformed Frame - Check to show and adjust the transformed (rotated or skewed) frame position and size in the panel.
- Transform Each - Check to enable the separate transformation of the selected objects.
- Relative Center - Edit the transform pivot point using coordinates relative to the object center.
- Transform Shape - Transformations are applied to the object shape.
- Transform Content - Transformations are applied to the object content also.
- Transform Text Frames - Transform the content of text frames.
- Transformed Stroke - Enable the transformed stroke option of the selected objects. This is a non-destructive option and will not alter the actual stroke width. Instead it will enable or disable the use of existing object transformations to transform the stroke width also.
- Uniform Stroke Scaling - Enable or disable the uniform stroke width transformation.
- Transform Image Effects - Enable or disable the image effect parameter scaling.
- Move Objects - Check to show fields used to move objects.
- Directional Move - Object moving (with the Move Objects fields) will occur along a direction specified by an angle.
- Global Proportional Mode - When enabled, the proportional mode setting selected in the Transform panel is also used by the on-canvas transform tool, to scale objects proportionally.
The Collider Tool
Aligning to shapes with the collider tool.
The Collider tool  can be used to move and rotate objects, to precisely align the location with locations on other shapes. The curvature at a shape location defines a precise angle and position. The collider tool can be used to move an object to the location on the shape and rotate it to the angle defined by the shape curvature.
To align objects with the collider tool:
- Select the Collider tool from the application toolbox.
- Click on an object to select it.
- To align objects, click on the outline of the object at a location that should be aligned with other shapes.
- Drag the object from an outline location, close to other objects with outlines.
- When the moved object location is sufficiently close to an other shape, the object will rotate and snap to the curvature of that other shape.
- Press and release the Spacebar key to swap the side of the shape.
The Gap Tool
The Gap tool  can be used to adjust the gap between objects by resizing the objects. The gap tool is used, when setting up layouts of text and image frames on an artboard. The gap tool will automatically detect the gap between two adjacent objects or between an object and the artboard margin. The gap tool uses the current view rotation, the artboard rotation and the normal (zero) viewing angle to detect gaps.
Use the following steps to adjust objects with the gap tool:
- Select the Gap tool from the application toolbox.
- Hover over empty areas between objects.
- The detected gap between objects or between an object and the artboard margin is shown.
- Press the mouse and drag to adjust the position of the gap.
- The objects around the gap are resized according to the gap movements.
- Hold the Shift key to snap the sizes of the two sides to the same size when they are close.
Transform Tools
The Pointer tool can be used to apply all the common transformations to objects (moving, scaling, skewing and rotating). In addition to the default transform tool, VectorStyler provides a number of specialized tools to apply reflection, scaling, skewing or rotations to objects.
These tools can also be used to transform a selected number of nodes in an edited path. While using these tools, the objects cannot be moved, and only the selected transformation mode can be applied.
The Reflect Tool
The Reflect tool  can be used to transform objects to their reflections along an axis.
- Select the Reflect tool from the application toolbox.
- Click on the object to be modified and start dragging.
- The axis of the reflection is indicated as a line between the starting and current mouse location.
- The object is previewed with the current reflection transformation.
The Move Tool
The Move tool  can be used to select and move objects.
- Select the Move tool from the application toolbox.
- Click on an object to select or drag a box to select multiple objects.
- The object selection is highlighted with a thin box around the selected objects, without any knobs for other transformations.
- Drag from the inner region or the outline of a selected object to move the objects.
The Scale Tool
The Scale tool  can be used to scale objects around the object center point.
- Select the Scale tool from the application toolbox.
- The center point of the object, initially located at the center of the object, can be adjusted by dragging it with the mouse.
- Drag one of the eight scaling nodes (on the bounding box corners and sides) to scale the object in the selected direction.
The Skew Tool
The Skew tool  can be used to skew objects around the object center point.
- Select the Skew tool from the application toolbox.
- The center point of the object, initially located at the center of the object, can be adjusted by dragging it with the mouse.
- Drag one of the four skew nodes (on the bounding box sides) to skew the object in the selected direction.
- The skewing transform will occur around the center point.
The Rotate Tool
The Rotate tool  can be used to rotate objects around the object center point.
- Select the Rotate tool from the application toolbox.
- The center point of the object, initially located at the center of the object, can be adjusted by dragging it with the mouse.
- The four corners of the object bounding box will show the nodes used to rotate the object.
- Drag one of the four rotate nodes, to rotate the object around the center point.
The Crop Tool
The Crop tool  can be used to crop the clipping area of image or linked content objects. The crop tool can be activated also by double clicking on an image object.
To adjust the clipping region of images and linked content, follow these steps:
- Select the Crop tool from the application toolbox.
- Click on the image object to be adjusted.
- Drag the corner and side knobs of the crop marker to resize the clipping region.


