Artistic Brushes
In the artistic brush type, a single object is stretched along a shape, to create a brush paint effect. The content of the object, the brush color and the artistic brush options determine the appearance of the brush.
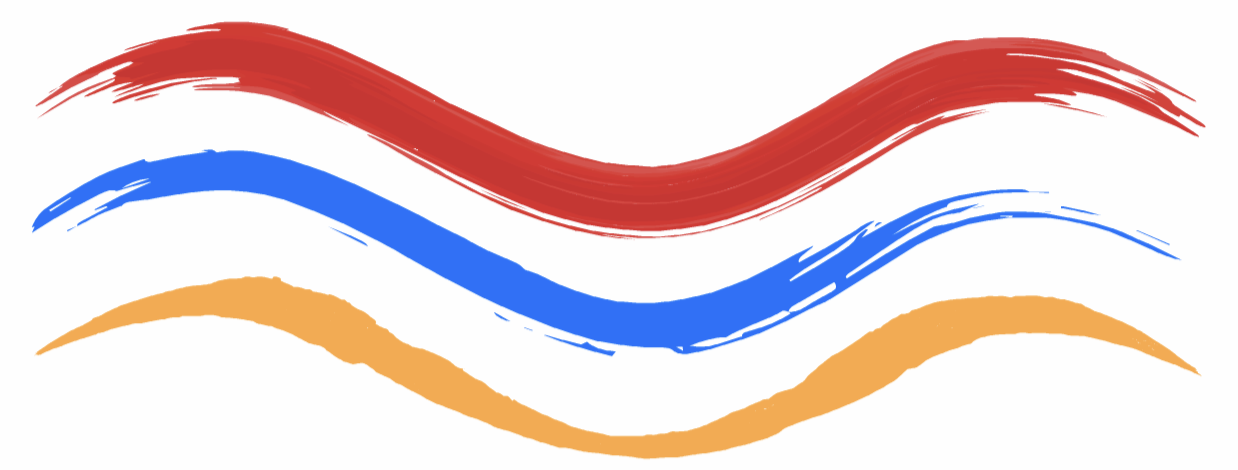
Various artistic brush styles.
Variable width profiles can be used to make varying artistic brush widths along the shape. The brush options may use calligraphic brush scaling and rotation, to generate varying local width based on a calligraphic pen shape.
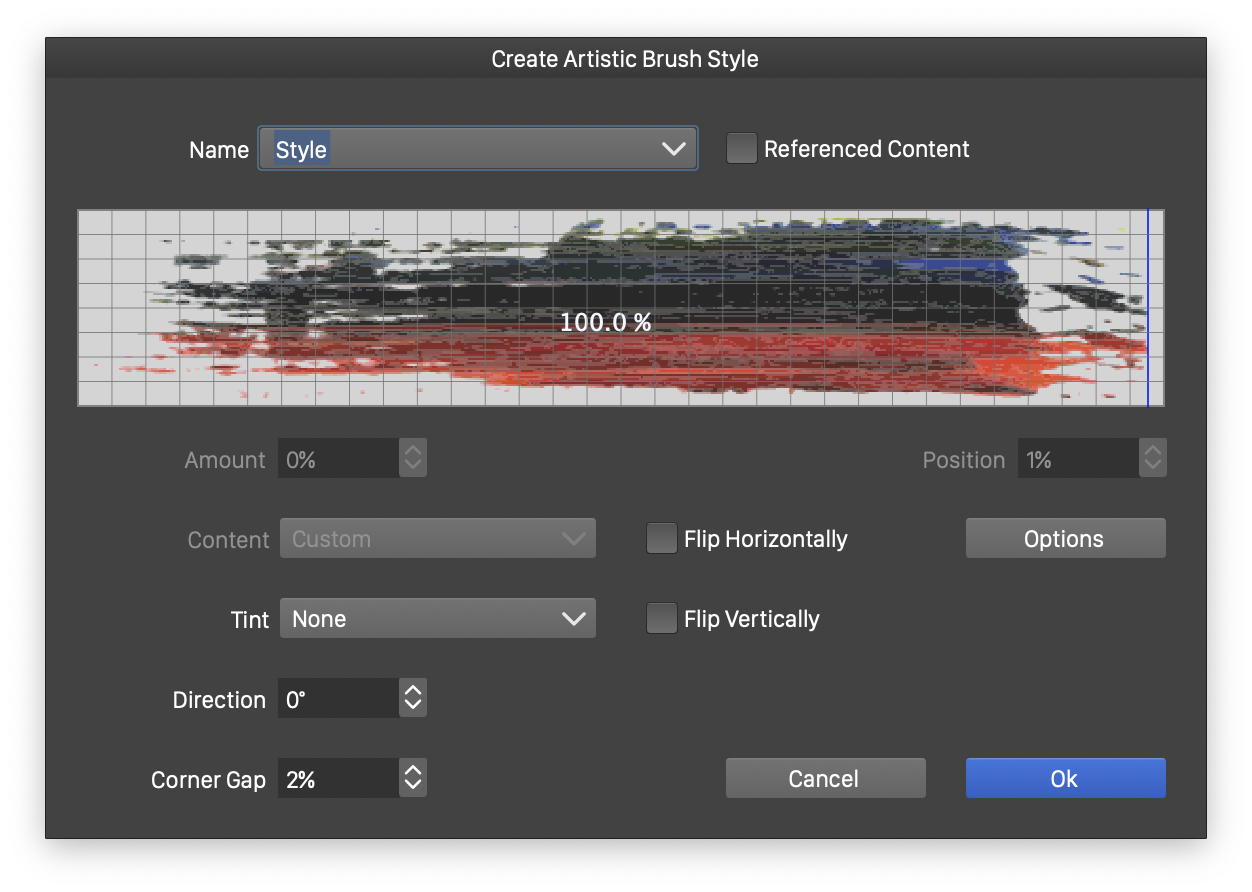
Artistic brush presets and styles can be created by drawing an object for the brush content, and using the Create Artistic Brush Preset and Create Artistic Brush Style commands from the Styles - Create Style menu, or the Brushes panel menu.
When editing an artistic brush type, or creating a new brush, the artistic brush options view is used to set attributes specific to artistic brushes.
Brush Options
The artistic brush options are edited in the Artistic Brush view. There is a single brush content object, that is stretched using different stretching amounts at different locations along the shape. The artistic brush content can be replaced with other objects or symbols available from the document.
Use the Artistic Brush Content role to define objects, that can be used as artistic brush content.
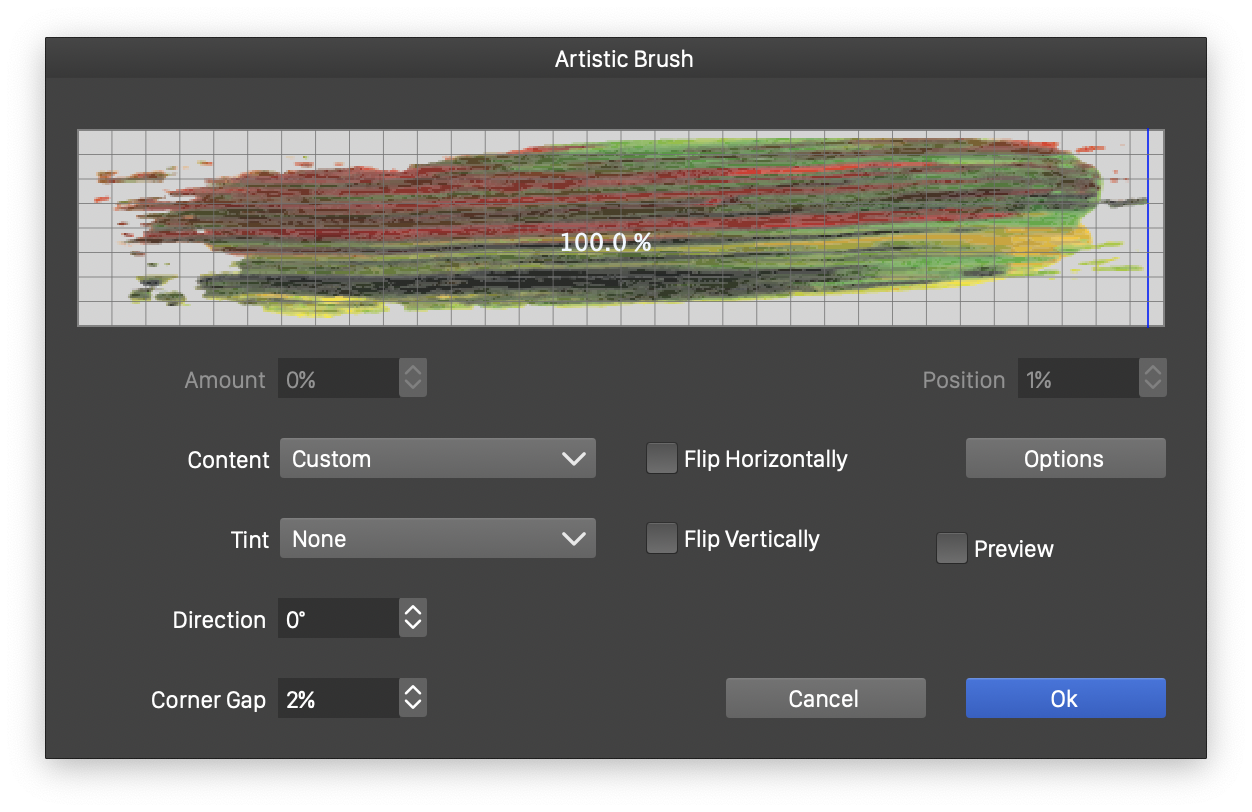
The Artistic Brush options view.
The upper area of the Artistic Brush view, contains the brush stretching editor widget. The widget previews the current brush content, and the stretching boundaries. If the content is stretched uniformly along the shape, there will be no stretching boundaries shown. The stretching boundaries are shown using a blue vertical line. The default artistic brush presets, are stretched uniformly.
To edit the artistic brush stretching scheme, use the following steps:
- Double click at a location, to create a new stretching boundary at that location. A blue line is shown at a newly created stretching location.
- Create one or more stretching boundaries, along the artistic brush content.
- Select a stretching region, between two boundaries, by clicking on the region.
- The selected region is shown with a dimmed gray highlight.
- Edit the position of the boundary, of the selected region, in the Position field. The position is set in percentages, relative to the artistic brush content extent.
- Edit the amount of stretching applied to the selected region in the Amount field.
- Stretching each region with a different stretching amount, can be used to control how much a brush region is distorted and stretched.
For example, to avoid stretching a starting and ending region of a content, and only stretch between these, use the following steps:
- Create two stretching boundaries, by double clicking on the artistic brush content.
- Move these boundaries to the margins of the starting and ending regions of the content.
- Set the region at the start and end of the artistic brush content to zero stretching amount.
- Set the middle region stretching amount to 100%, any nonzero value will do in this case.
- When the brush is stretched along a shape, the start and end regions are scaled uniformly, while the middle region is stretched to fill the shape length.
The following artistic brush options can be selected in the Artistic Brush view:
- Content - Opens a list of symbols and objects with the Artistic Brush Content role. Select an object from the list to change the content of the artistic brush.
- Tint - Select the artistic brush coloring mode. This can be:
- None - Keep the original colors from the content object.
- Color - Set all colors in the content object to the brush color.
- Tint - Convert all colors to gray levels, and use the gray level to display the content with a brush color tint.
- Hue - Convert all colors to gray levels, and use the gray level as the hue of the brush color.
- Saturation - Convert all colors to gray levels, and use the gray level as the saturation of the brush color.
- Intensity - Convert all colors to gray levels, and use the gray level as the intensity of the brush color.
- Direction - Edit the angle used as the axis of the brush content. Typically this angle is zero, and the brush content is designed considering a horizontal layout. Setting the angle, enables the support for any brush content direction.
- Corner Gap - Edit the gap around cusp corners in the shape, used when stretching the brush content along the shape.
- Rounding - Set the adaptive rounding ratio for cusp shape corners to create round corners.
- Flip Horizontally - Enable or disable the horizontal flipping of the brush content.
- Flip Vertically - Enable or disable the vertical flipping of the brush content.
- Distort as an Image - Check to stretch the brush content as an image.
- Flattened Content - Check to create a fast flattened brush content for brushes containing basic shapes and colors.
- Options - Open the Shape Effects options view, used to select how the shapes and objects inside the brush content are distorted, when stretched along the shape. The Shape Filter options view is described with more detail in the Shape Effects chapter.
- Preview - Enable or disable the previewing of current artistic brush settings on the selected object.
Artistic Brush Presets and Styles
When creating artistic brush presets or styles, the same Artistic Brush view is used, with minor additions, depending on whether a preset or a style is created:
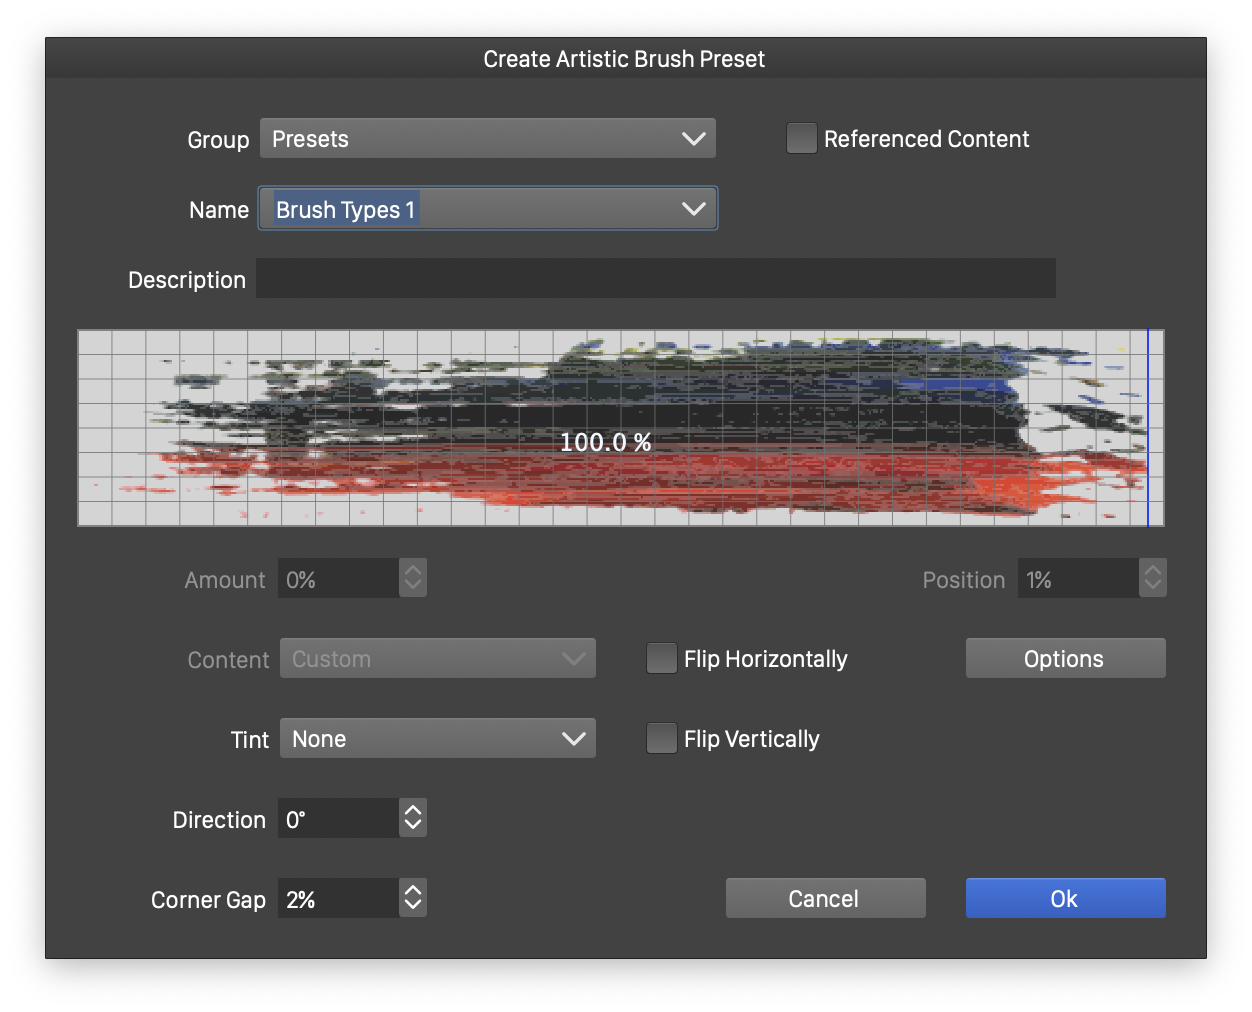
Creating artistic brush presets.
- Group - Select the preset group to store the brush preset. Shown when creating artistic brush presets.
- Name - Set the new brush preset or style name in the Name field. Shown when creating artistic brush presets or styles.
- Description - Provide an additional description for the new preset. Shown when creating artistic brush presets.
- Referenced Content - Enable or disable the use of object referencing for the artistic brush content. When enabled, the artistic brush style will keep a link to the original object. Editing the original object, used as the artistic brush content, updates all artistic brushes using the brush style.