Mesh Transparency
The transparency of an object or group of objects can be set using a gradient mesh of opacity values, in a similar way as gradient mesh objects are edited. The mesh transparency mask enables the selection of different opacity values, at different locations over the object area, and a smooth transition between these opacity values.
Creating a Mesh Transparency

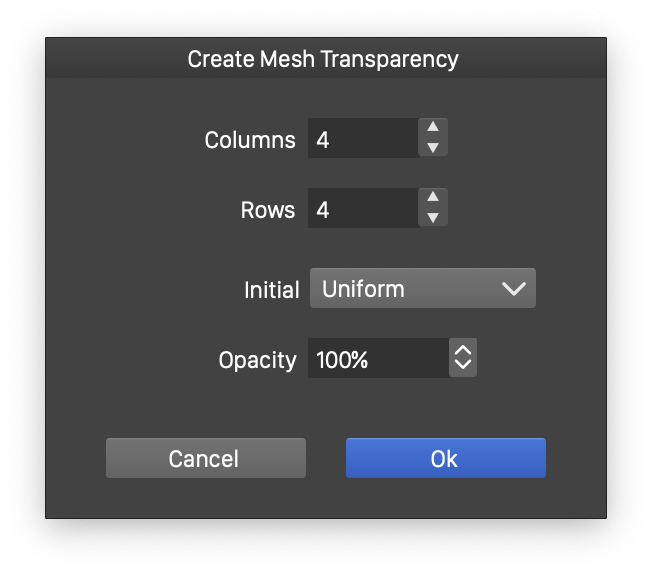
Creating a new mesh transparency.
To create a mesh transparency mask on the selected objects:
- Select the Mesh mode in the Mask field of the Transparency panel.
- The Create Mesh Transparency view is shown to setup the default mesh grid.
- Edit the number of columns and rows in the initial mesh grid.
- Set the initial mesh grid opacity value generation mode. Opacity values can be initialized to Uniform, or transitioned To Center or To Edge.
- Edit the initial opacity amount.
- To create the mesh transparency, click on the Ok button.
When a mesh transparency mask is created, the mesh transparency editor tool is activated to edit the nodes and opacities of the mesh grid. The mesh grid editing is similar to the Gradient Mesh editing.
Editing the Mesh Transparency
The mesh transparency mask of an object or a group of objects can be edited using the Mesh Transparency  tool from the application toolbox.
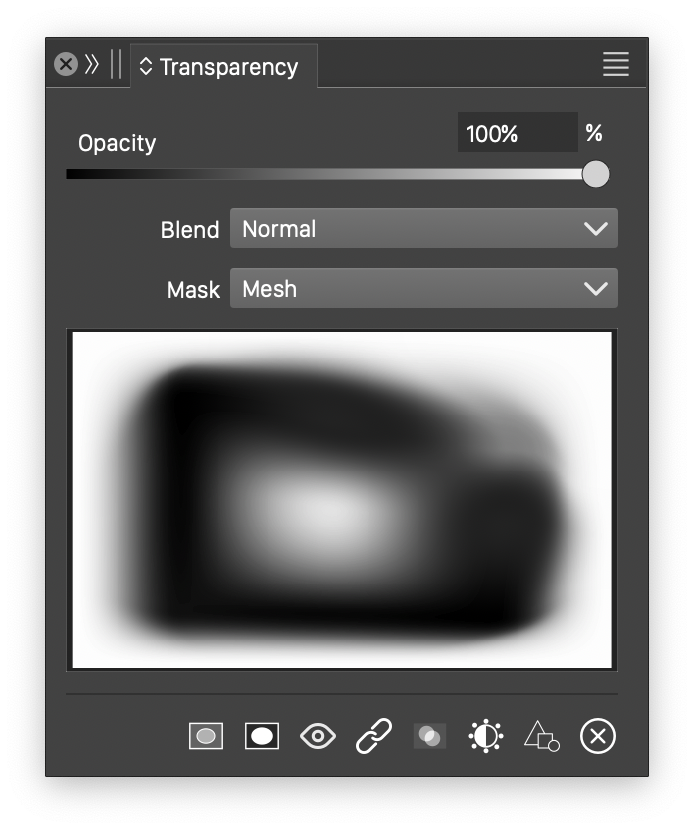
The mesh transparency editing of the selected objects can also be initiated by double clicking the transparency mask preview in the Transparency panel.

The Transparency panel with a mesh mask.
When an object with a mesh transparency is selected with the mesh tool, the mesh grid and its nodes are shown. The following mesh editing options are available:
- To select a mesh node, click on the node.
- The path editing commands are available to edit the edges of the mesh grid.
- Use the mouse to move the mesh nodes around.
- To create a new mesh node, double click inside the mesh area. The new mesh node is created by increasing the mesh grid size.
- To edit the opacity at a mesh node, double click on the mesh node.
- The selected mesh node opacity can also be edited by adjusting the Opacity slider in the Transparency panel.
