Controlling nodes and handles when deleting nodes to fill in a gap
-
Is there a better way to delete interior nodes to "fill in a gap"?
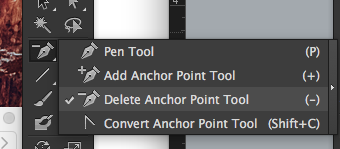
I know we discussed in another thread a while back about the way Illustrator handled it - if you deleted a node directly in Illustrator, it created a gap in the path. if you deleted with the "Delete anchor point tool" (minus key), it would remove the node, but keep the path intact.
I included a video from Illustrator using a random shape with cusp nodes and smooth nodes, etc... I went through and deleted nodes from it using the "Delete Anchor Point Tool"
The resulting handles were not super long and crazy - it allowed for quick deletion. Doing this in VS, we get long node handles and loopy results... Is there a way to tame in those long handles and overextended fills?
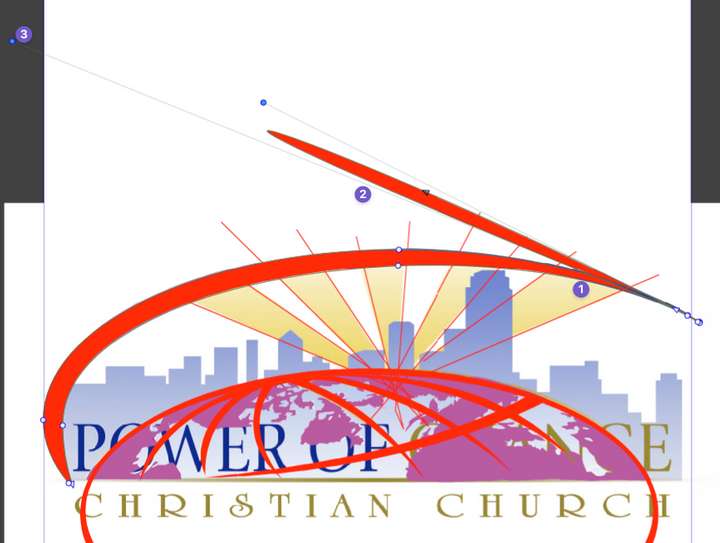
Just as another example - when I delete extra interior nodes of the same shape as the first video - this is how extreme some of the nodes and fill gets: I deleted a node near #1, that created a huge extra blob of a fill (#2) and extended nodes really far out (#3)
-
@Boldline As an alternative, you could break the shape apart (right-click > Break Apart, or Ctrl-K) and delete the smaller part.
-
@Boldline I just figured out that you can use 'Normalize Winding' for this (Object menu > Shape), which gets rid of the inner path faster than 'Break Apart'.

-
@b77 I agree in part - I tried break apart - but because the globe below was grouped - it fill it in entirely... I've not found much good use for "break apart" so far.
The main issue here is that I need to keep switching over the winding fill - is there a way to make that the default?I'm not sure how using winding fill will fill in the center part faster - i still need to delete a lot of nodes and clean up all the crazy directions the nodes and handles fly each time I delete one... unless you mean cap off the shape at both ends first and then break apart so the negative space in the middle can be highlighted and deleted?
-
This post is deleted!
-
@Boldline In your video I see a red swash and you were doing the usual select-node-and-delete-it routine, one by one, to get rid of the hole. Using 'Break Apart' separates the inner path into another object you can then delete.
But 'Normalize Winding' will get rid of the inner path faster than that.
Anyway, if the red swash is grouped with some other object (with the globe?), double-clicking it will enter isolation mode, then 'Break Apart' or 'Normalize Winding' will affect just the red swash.
-
@b77 said in controlling nodes and handles when deleting nodes to fill in a gap:
Anyway, if the red swash is grouped with some other object (with the globe?), double-clicking it will enter isolation mode, then 'Break Apart' or 'Normalize Winding' will affect just the red swash.
Great tip! thank you
-
@Boldline There is an option: Prferences -> Editing Options -> Adjust Node Removal Curvature, that will not approximate the original curve when removing a node.