Converting a tutorial from Illustrator (Blend Function) to VectorStyler
-
Youtube Tutorial:
Design Abstract Knot: (about 1:15 in)
https://www.youtube.com/watch?v=ZJEW96YH6PQ
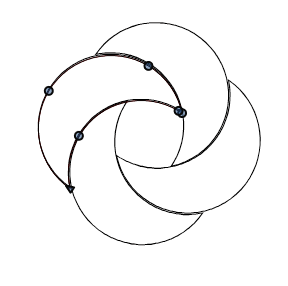
Here's what I've got so far, using Shape Builder and Break Apart (Stuck at this point.)
-
@fewerjunk The "Cut path at anchor point" of AI is the "Separate the selected shape..." from the context panel:

But after separating the two nodes, you will need a "Object -> Break Apart" to be able to delete the inner arc.
-
Ok, I've quite clearly got the two parts separated here and I can't get "Blend" to work as shown here:
https://www.vectorstyler.com/documentation/blending/blendtool/
My file: (As best I can figure, divided into two, separately clickable parts)
0_1670325309882_Abstract_Knot_Illus_Vctr.vstyler
Blend (Here at about 1:20)
-
@fewerjunk It seems that these two paths are inside some groups.
First ungroup all, then select one of the paths and select Object -> Shape -> Reverse Path Direction to have both paths the same direction.Then blend will give what is needed.
-
@VectorStyler Interesting shape. I can get this easily now that I dealt with blending:

but I can't get the final shape with the transform tool... I don't see how ? It can be of use but not what is expected.

-
@Pat The movement in the transform view has different implementation in VS and AI, so this will give different results.
I will try to improve this.
-
@VectorStyler I like the way VS handles objects transformation & maybe implementing an option to get the same transform than AI ?
-
@Pat I think the only issue here is how the movement is handled, and it should be easy to fix.
-
@fewerjunk, @Pat
in case you dont know
there is a way to arrange your shapes in realtime
i use clones for that
please note:
this works only if you select all Nodes
of the original Object (the clones will follow then)Here a Video how i made it:
live moving a orginal Object and so the clones
-
@Subpath excellent... still many features to learn

-
@Pat, @fewerjunk
forgot one thing
about the Tranform Panel i used in the Videoyou could change Values in that Transform Panel
via Up and Down Key and via the Scroll wheel
-
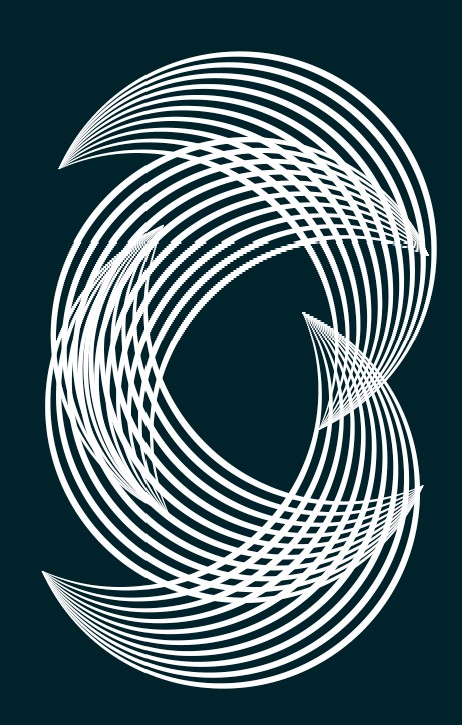
I got this, by grouping the finished blend which made it easier to rotate (from the center I think vs from an edge). Quite a bit of tinkering. Not a bad result.
Thanks for the help.